How to Make a Reverse Osmosis System at Home
Reverse osmosis (RO) is one of the most effective ways to purify water, removing impurities, heavy metals, and harmful contaminants. Many households invest in commercial RO units, but building your own can be cost-effective and rewarding. If you have basic plumbing skills and the right materials, learning how to make a reverse osmosis system at home can help you enjoy clean, safe drinking water without spending a fortune.
In this guide, you will discover the step-by-step process of assembling your own RO system, the materials you will need, how the filtration process works, and tips to maintain it for long-term use.
Understanding How Reverse Osmosis Works
Reverse osmosis works by forcing water through a semipermeable membrane under pressure. This membrane blocks impurities while allowing clean water molecules to pass through. Contaminants such as chlorine, fluoride, arsenic, nitrates, lead, and microorganisms are significantly reduced.
A typical RO system includes multiple filtration stages: a sediment filter, activated carbon filter, the RO membrane, and sometimes a post-carbon filter. Some setups also include UV sterilizers for extra disinfection. Understanding these components is important before you start building your system.
Materials You Will Need
To build a basic RO system at home, you will need the following:
- RO membrane housing and membrane
- Pre-filters (sediment and carbon) with housings
- Water storage tank
- Feed water adapter and tubing
- Flow restrictor and check valve
- Faucet for purified water outlet
- Wrenches, Teflon tape, and other plumbing tools
You can purchase these components individually or as part of an RO DIY kit. Make sure to buy quality parts to ensure durability and efficiency.
Planning Your RO System Design
Before starting assembly, decide where you will install the system. Most homeowners place it under the kitchen sink for easy access. You will need a water source, a drainage point, and enough space for the filters and tank.
If you want the system to serve your entire home, you will need a larger setup and more powerful components. For small household use, a compact under-sink system is ideal.
How to Make a Reverse Osmosis System at Home
Prepare the Installation Area
Turn off your water supply before starting. Clear the space under your sink and check for any leaks or damaged pipes. Gather all your tools and components for easy access during installation.
Connect the Feed Water Adapter
Attach the feed water adapter to your cold water supply line. This will connect the incoming water to your RO system. Use Teflon tape on threaded connections to prevent leaks.
Install the Pre-Filters
Mount the sediment and carbon filter housings on a sturdy surface or bracket. Connect them in the correct order, starting with the sediment filter to remove larger particles, followed by the carbon filter to reduce chlorine and organic chemicals.
Connect the RO Membrane
Insert the RO membrane into its housing, following the manufacturer’s instructions. The membrane is the heart of the system, so handle it carefully and avoid touching the surface.
Add the Flow Restrictor and Check Valve
Install a flow restrictor to control the wastewater ratio and ensure proper pressure across the membrane. The check valve prevents backflow, protecting the membrane from damage.
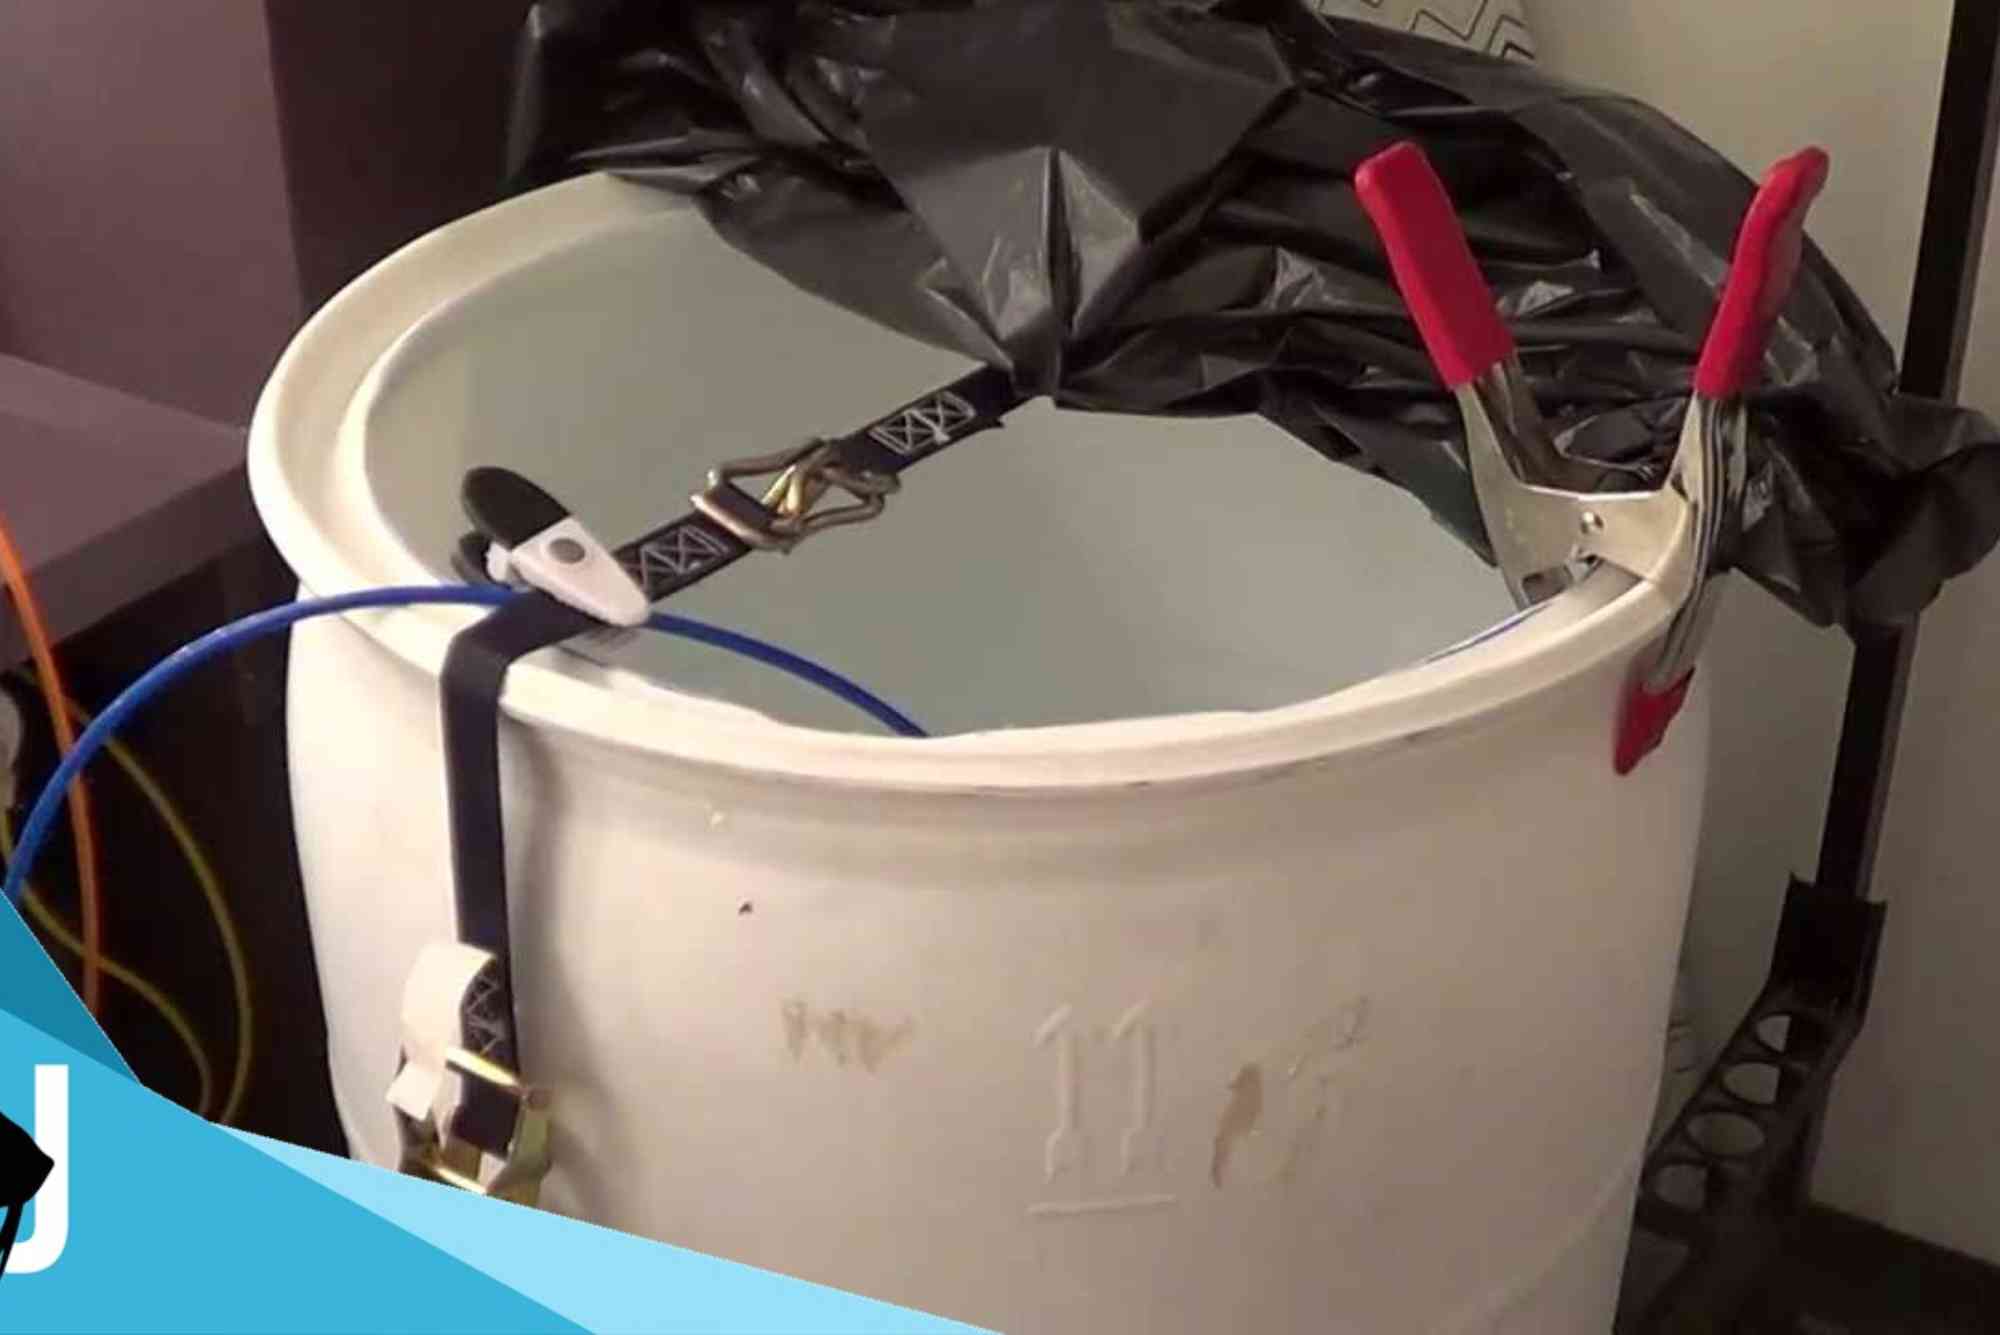
Connect the Storage Tank
Attach the tank to the RO outlet line using the provided tubing. The tank will store purified water and supply it when you open the faucet. Make sure the tank valve is open during use.
Install the Faucet
Drill a small hole in your sink or countertop for the RO faucet if you don’t already have one. Connect the faucet to the purified water outlet line.
Flush and Test the System
Turn on the water supply and check for leaks. Flush the system for several hours to remove any impurities from the filters and membrane. Discard the initial batch of purified water before regular use.
Maintenance Tips for Your Homemade RO System
To keep your RO system efficient, replace the sediment and carbon filters every 6–12 months. The RO membrane usually lasts 2–3 years, depending on water quality. Regularly sanitize the system to prevent bacterial growth, and inspect tubing connections for leaks.
Safety Precautions
Always use certified food-grade components for drinking water applications. Avoid using unknown or low-quality membranes, as they may not effectively remove contaminants. If your water source contains high levels of dangerous substances, have it tested before relying solely on your homemade system.
Benefits of Making Your Own RO System
Building your own system can save you money and allow you to customize it to your needs. You can choose the best-quality filters, add extra purification stages, and repair or replace parts yourself. This flexibility often makes a DIY system more cost-effective than a commercial one.
Common Mistakes to Avoid
Many beginners fail to install the membrane correctly or forget to flush the system before use. Skipping pre-filters can also damage the membrane quickly. Always follow proper installation steps and maintenance schedules to ensure your system works efficiently.
FAQs
Can I build a reverse osmosis system without plumbing experience?
Yes, if you follow clear instructions and have basic tools. However, for complex setups, hiring a plumber is safer.
How much does it cost to make an RO system at home?
Depending on quality, expect to spend $100–$300 for parts and filters.
Can I connect my homemade RO system to the entire house?
Yes, but you will need a larger system with higher capacity and stronger pumps.
How often should I replace filters in my DIY RO system?
Pre-filters should be replaced every 6–12 months, and the RO membrane every 2–3 years.
Is homemade RO water safe to drink?
If built and maintained correctly with certified components, yes, it is safe for drinking.
Learning how to make a reverse osmosis system at home can be a rewarding project that ensures you have access to clean, safe drinking water. By following the right steps, using quality parts, and maintaining your system regularly, you can enjoy the same purification quality as commercial systems for a fraction of the cost. If you are ready to take control of your water quality, start gathering your materials today and build your own RO system with confidence.