
How to Make Polymer Clay at Home: Easy DIY Instructions
Polymer clay is a favorite material among artists, hobbyists, and DIY lovers. It’s versatile, colorful, and can be molded into almost anything — from jewelry to home décor pieces. While store-bought polymer clay is convenient, learning how to make polymer clay at home gives you more control over its texture, flexibility, and colors. Plus, it’s an affordable alternative and a fun hands-on project you can do in your kitchen.
This guide will walk you through the process step-by-step. You’ll learn how to prepare polymer clay using simple ingredients, how to mix colors, and how to make it ready for your creative projects. Whether you’re new to crafting or an experienced maker, you’ll find these instructions easy to follow.
Why Make Polymer Clay at Home
Making polymer clay at home is not only budget-friendly but also highly customizable. Store-bought clay can be expensive, especially for large projects. By preparing it yourself, you can experiment with different consistencies, add unique pigments, and even adjust the clay to suit your style. It’s also a satisfying way to connect more deeply with your crafting process.
Additionally, homemade polymer clay allows you to avoid certain commercial additives you might not want in your projects. Many crafters also enjoy the flexibility of making smaller or larger batches depending on their needs.
Ingredients and Tools You’ll Need
To create polymer clay at home, you’ll need a few basic kitchen items and ingredients. The main components are cornstarch, white school glue, mineral oil or baby oil, and lemon juice or vinegar. These create a smooth, pliable clay that mimics the qualities of commercial polymer clay. You’ll also need a non-stick pot or pan, a silicone spatula, airtight containers, and gloves for mixing and kneading.
Make sure your workspace is clean and free from dust, as small particles can get trapped in the clay and affect the final finish. Wearing gloves will also prevent fingerprints and keep the clay clean.
How to Make Polymer Clay at Home
The process of making polymer clay is simple but requires careful attention to heat and consistency. Begin by mixing one cup of cornstarch with one cup of white school glue in a non-stick pot. Stir until the mixture is smooth. Add two tablespoons of baby oil and one tablespoon of lemon juice or vinegar to help preserve the clay and keep it flexible.
Heat the mixture over low heat, stirring constantly. As it warms, it will start to thicken. Keep stirring until it forms a dough-like texture that begins to pull away from the sides of the pot. This usually takes five to seven minutes. Once it reaches this stage, remove it from the heat and transfer it onto a clean silicone mat or a sheet of parchment paper.
Allow the clay to cool slightly until it’s warm but comfortable to touch. Begin kneading it gently to create a smooth, elastic texture. If it feels too sticky, dust your hands with cornstarch while kneading. Continue kneading for about five minutes until the clay becomes soft and pliable.
Coloring and Customizing Your Clay
Once your clay is ready, you can customize it by adding acrylic paint or powdered pigments. To color the clay, make a small indentation in the center of the dough and add a drop of paint. Knead it thoroughly until the color is evenly distributed. For marbled effects, only partially mix the colors.
You can also add fine glitter, mica powder, or other decorative materials to make your clay unique. Always add color before baking, as polymer clay hardens and sets during the curing process.
Baking Your Polymer Clay Creations
After shaping your clay into jewelry, ornaments, or sculptures, it’s time to bake it. Preheat your oven to 275°F (135°C). Place your creations on a baking sheet lined with parchment paper. Bake for about 15 to 30 minutes depending on the thickness of the clay pieces. Thin designs require less time, while thicker sculptures need more.
Once baked, let them cool completely before handling. Cooling helps the clay set fully and prevents cracks. For added durability, you can seal the finished pieces with a clear acrylic varnish or glaze.
Common Mistakes to Avoid
One common mistake beginners make is overheating the clay mixture during preparation. Too much heat can cause the glue to harden too quickly, resulting in a crumbly texture. Always cook over low heat and stir constantly.
Another mistake is adding too much cornstarch when adjusting the stickiness. While it can help reduce tackiness, excess cornstarch can make the clay dry and brittle. Add small amounts gradually and knead well to maintain flexibility.
Overbaking is also a risk. Monitor your pieces in the oven and follow the recommended time and temperature to prevent discoloration or burns.
Tips for Storing Homemade Polymer Clay
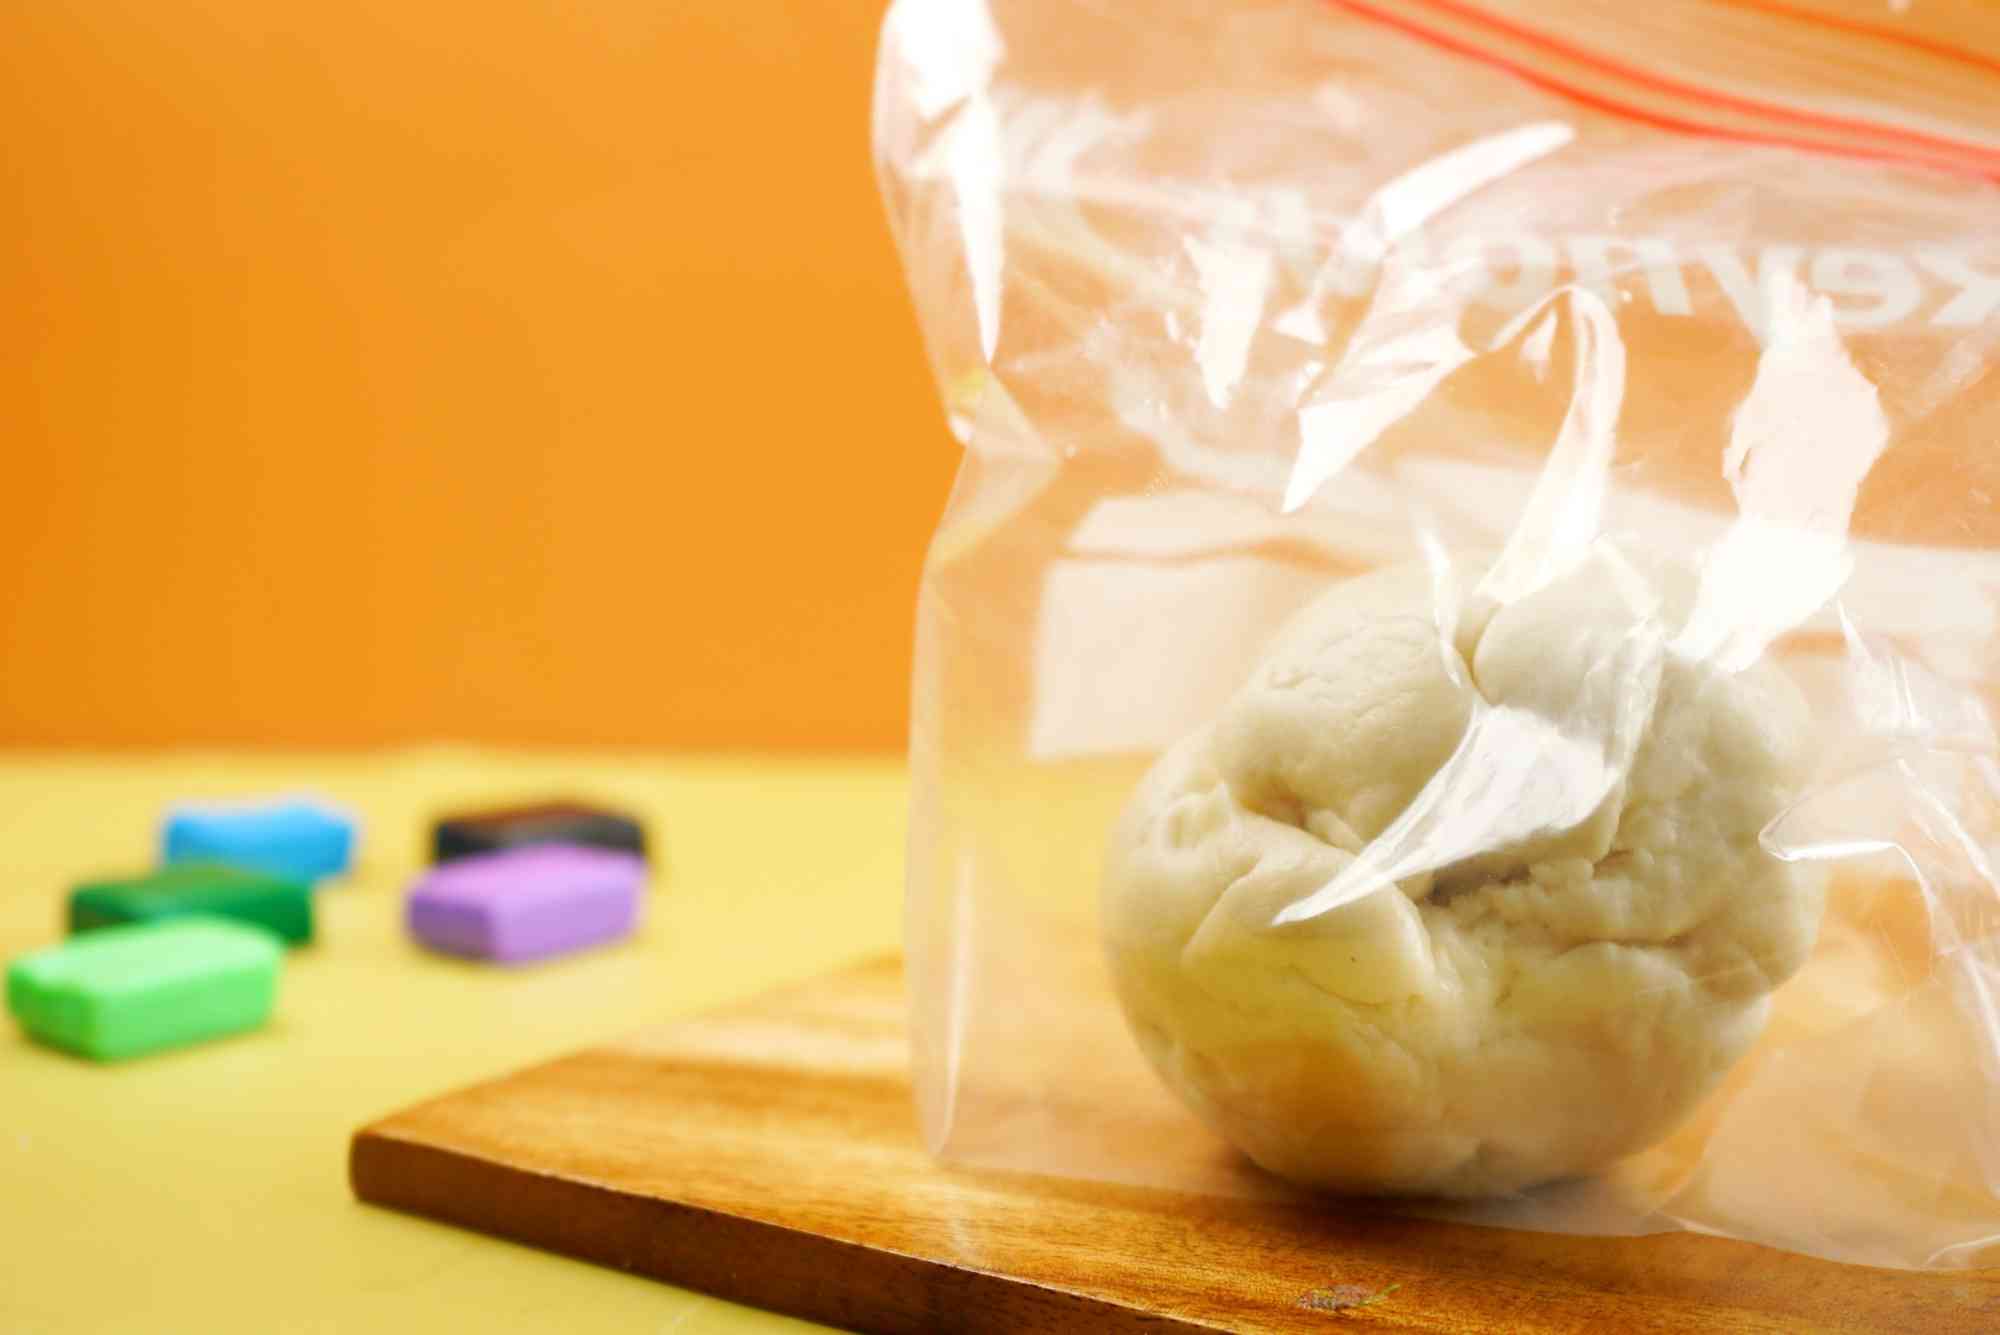
To keep your polymer clay fresh, store it in airtight containers or resealable plastic bags. Add a drop of baby oil to the clay before sealing to maintain its softness. Keep it in a cool, dry place away from direct sunlight. Proper storage can keep your clay usable for several weeks or even months.
Benefits of Homemade Polymer Clay for Crafting
Homemade polymer clay is ideal for a wide range of creative projects. You can make jewelry, miniature sculptures, decorative ornaments, beads, charms, and even home décor accents. Since you control the recipe, you can experiment with different textures, stiffness levels, and finishes.
Crafting with your own clay also enhances your skills as a maker. You learn to troubleshoot issues, adapt recipes to your needs, and develop a personal style that’s hard to replicate with store-bought products.
FAQs
Is homemade polymer clay as strong as store-bought clay?
Homemade polymer clay can be durable, but store-bought clay often contains specialized resins that add extra strength. For decorative projects, homemade clay works perfectly.
Can I make polymer clay without glue?
White school glue is essential for this recipe as it provides the binding properties that give the clay its flexibility. Without it, the clay will not hold together well.
How do I know if my clay is ready for baking?
When the clay is smooth, pliable, and holds its shape without sticking excessively, it’s ready to be shaped and baked.
Can I air-dry polymer clay instead of baking it?
Polymer clay is designed to be baked for strength and durability. Air-drying may result in a weaker, more brittle finish.
What if my clay cracks after baking?
Cracking can happen if the clay was too dry before baking or if it cooled too quickly. Knead the clay well before shaping and allow it to cool gradually after baking.
Learning how to make polymer clay at home opens up a world of creative possibilities. It’s cost-effective, customizable, and satisfying to create clay that suits your personal style. By following these easy DIY instructions, you can craft jewelry, décor, and artistic pieces without relying on expensive store-bought options. The process is fun, beginner-friendly, and a great way to explore your creativity.